Easy, delicious, crowd pleasing fresh baked bread....nothing really gets better than that does it? I make this loaf on repeat and its always amazing. This a recipe that doesn't require a levain, really most of my sourdough recipes don't because I found what works for me and I want to make this easy for you! Once you get this down you can try adding mix-ins to really create a one of a kind loaf. Think olives, sundried tomatoes, cheese, etc. Be on the lookout for those recipes soon!

Please click through the picture gallery below to get an idea of what the dough should look like from start to finish. Hope this helps!

Shaggy Dough 
First stretch, notice how lumpy it looks? 
fold over itself 
Repeat 
Fold over again, repeat 3 more times 
look how smooth its getting! 
Repeat the stretch and fold process 


After the final stretches and folds 
Nice and smooth 
Add dough to floured surface 


Filp this 

Put it seam side up in the floured banneton 
Before bulk proof 
Cover with damp towel 
After bulk proof 
Flip over 

Score how you please 
Transfer to Dutch Oven 
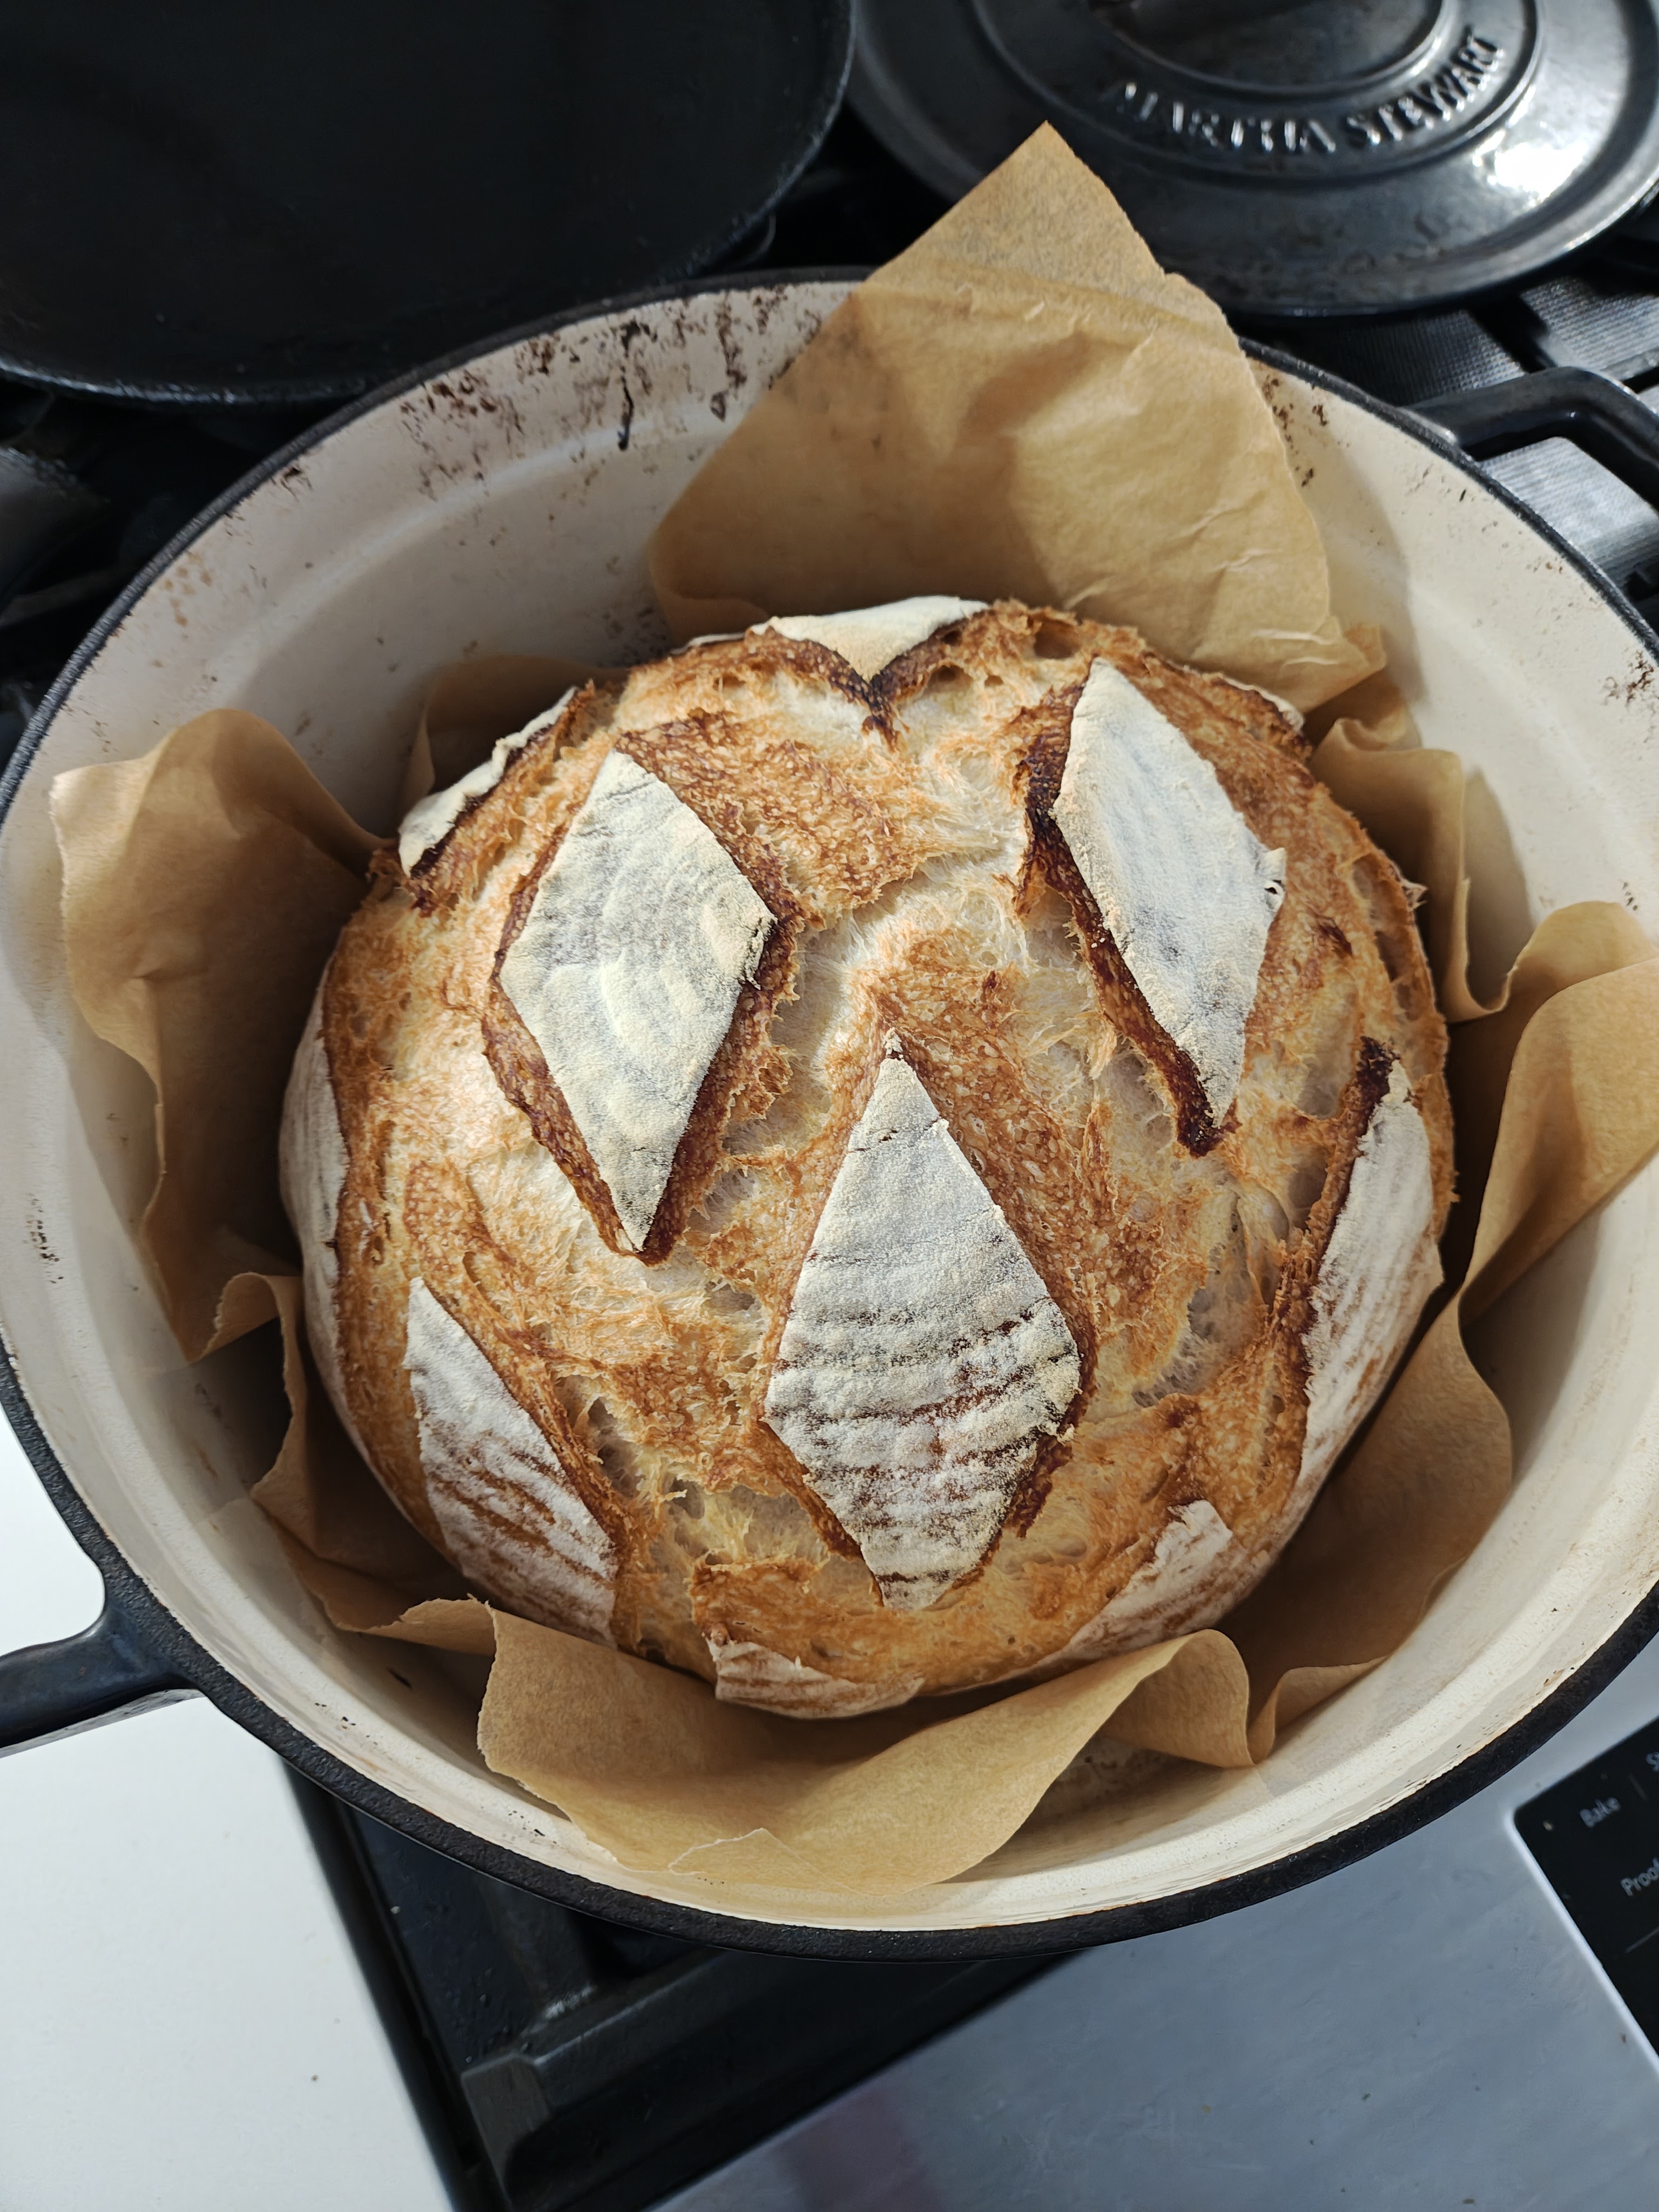
Done! 
What a beauty!

Equipment
- Bowl
- Tea Towel
Ingredients
- 335 grams warm water
- 150 grams active sourdough starter
- 505 grams bread flour (All purpose will work)
- 12 grams sea salt (Table salt is fine)
Instructions
- In a large bowl, combine the warm water with the active sourdough starter until mostly combined.
- Add bread flour and salt to the bowl and mix until a shaggy dough forms. Knead the dough with your hands until all the shaggy bits are incorporated.
- Cover the bowl with a damp tea towel and set aside for 45 – 60 minutes.
- Uncover the bowl and using damp hands, grab the dough and gently pull it until the flap is long enough to fold over itself, then fold the flap, rotate the bowl and repeat 4 times.
- Recover the bowl, and set it aside for 30 minutes, then repeat the stretch and fold process at least 3 more times over the next 2 hours. If you miss a fold or go over the two hours that is perfectly okay, you wont hurt the dough!
- Complete one final stretch and fold, then cover the bowl and set aside for 2 hours to bulk ferment. It is important to keep the dough bowl somewhere warm to encourage the microbes to work quickly! If your oven has a bread proof option you can put the covered bowl in the oven to proof.
- Observe your dough, at this point, the dough should have risen in the bowl, and have a smooth surface with visible bubbles. If the dough is domed in the bowl it is ready to work with, if the dough is flat it may need more time in the proof stage.
- Lightly flour the work surface and use your hands or a bowl scraper to turn the dough out onto the floured surface. Try to get the smooth top face down so that the sticky underside is on top facing you, this will make shaping the dough easier.
- Fold the edges into the middle, alternating sides to blend the dough together. Then starting from the top, fold the dough into thirds as you would a letter, but pull the bottom all the way around to flip the dough so the seam is facing downward. Tucks the ends under and slightly twist the dough on the counter so the seam tightens up and you form a nice round loaf.
- Dust your banneton with flour, then use a bench scraper or your hands to pick up the dough, flip the dough, and place it upside down, or seam side up, into a banneton to prove.
- Cover the banneton using a damp tea towel. During the proving period, the dough should rise and become slightly puffy in the banneton, but it should be watched – as over-proofing can cause the dough to bake up flat. This process will take a different amount of time based on the ambient temperature.
- To test the dough, gently poke it and observe how the dough reacts. If the dough feels tight and dense and looks like it hasn't relaxed in the basket, it is likely under proofed. Under proofed dough will resist your poking and spring back almost immediately. If the dough feels airy but still elastic and looks relaxed in the basket, it is properly proofed. Properly proofed dough will be easily poked, and the indent will slowly fill back in but may not even totally recover. Over proofed dough feels sticky and lacks elasticity, it will likely look slack in the basket and your indentation won't spring back.
- Place your Dutch oven in the oven and preheat to 450°f.
- Meanwhile, place the banneton in the freezer. If you forget this step that’s also okay. We all make mistakes and this wont hurt the dough, it might just not hold its shape as well.
- Once the oven is preheated, remove the dough from the freezer and invert the banneton onto a sheet of parchment paper. I like putting parchment on a cutting board and using that to easily flip the dough right side up.
- Use a lame, sharp knife, or clean razor blade to score the dough.
- Carefully remove the Dutch oven from the oven, and using the parchment paper as a sling, transfer the sourdough loaf from the counter into the Dutch oven.
- Bake the dough at 450°f covered for 20 minutes and then uncovered at 450°f for 25-30 minutes, or until the loaf is cooked through. You can test the doneness of the loaf with an instant-read thermometer. Bread is cooked once it reaches 205 – 210°f internal temperature. I usually just see how golden brown it is. If your oven is close to calibrated you shouldn't need longer than 30 minutes once the lid comes off.
- Remove baked bread from the Dutch oven and transfer it to a wire cooling rack to cool completely before slicing. I like to leave it for at least 2 hours before slicing, as slicing too soon can affect the crumb and texture of your loaf.
- Enjoy!
Notes
This is really such an easy almost foolproof recipe that even if you don’t think you did everything 100% correct it will still turn out! It might not look the prettiest but i bet it will taste amazing! Take a look at the pictures that go along with this recipe to visually see what textures to look for.
When I say “active starter” that means a starter that you feed regularly and/or you completed the water test before you used it. The water test (in case you missed my sourdough starter post) is dropping a spoonful of starter into a bowl of water and seeing if it floats. If it floats, it’s active and ready to be used!
Please note: Nutrition information is automatically calculated, so should only be used as an approximation
Nutrition
Serving: 12slice | Calories: 152kcal | Carbohydrates: 31g | Protein: 5g | Fat: 1g | Saturated Fat: 0.1g | Polyunsaturated Fat: 0.3g | Monounsaturated Fat: 0.1g | Sodium: 390mg | Potassium: 42mg | Fiber: 1g | Sugar: 0.1g | Vitamin A: 1IU | Calcium: 7mg | Iron: 0.4mg
Leave a Reply